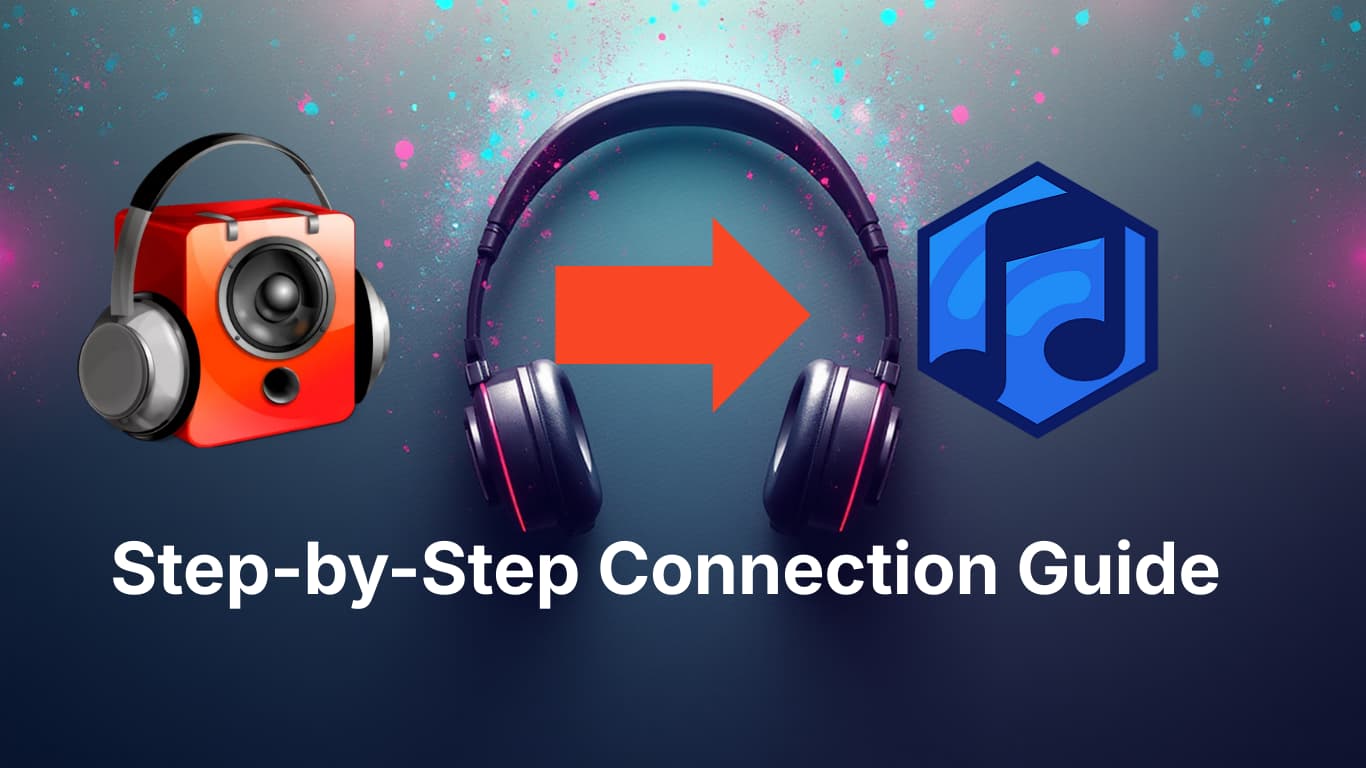
How to Connect RadioBOSS to AzuraCast (Live Streaming Guide)
RadioBOSS is one of the most reliable automation tools for Windows, and AzuraCast is the modern standard for broadcasting. Connecting them allows you to switch seamlessly from your AutoDJ to a live show.
In this guide, we will show you exactly how to configure the Broadcasting Encoder in RadioBOSS to connect to your AZ-StreamingServer AzuraCast station.
Prerequisites
– RadioBOSS installed on your PC.
– An active AzuraCast Station (hosted with AZ-StreamingServer).
– Your DJ Username and Password.
Step 1: Create a DJ Account in AzuraCast
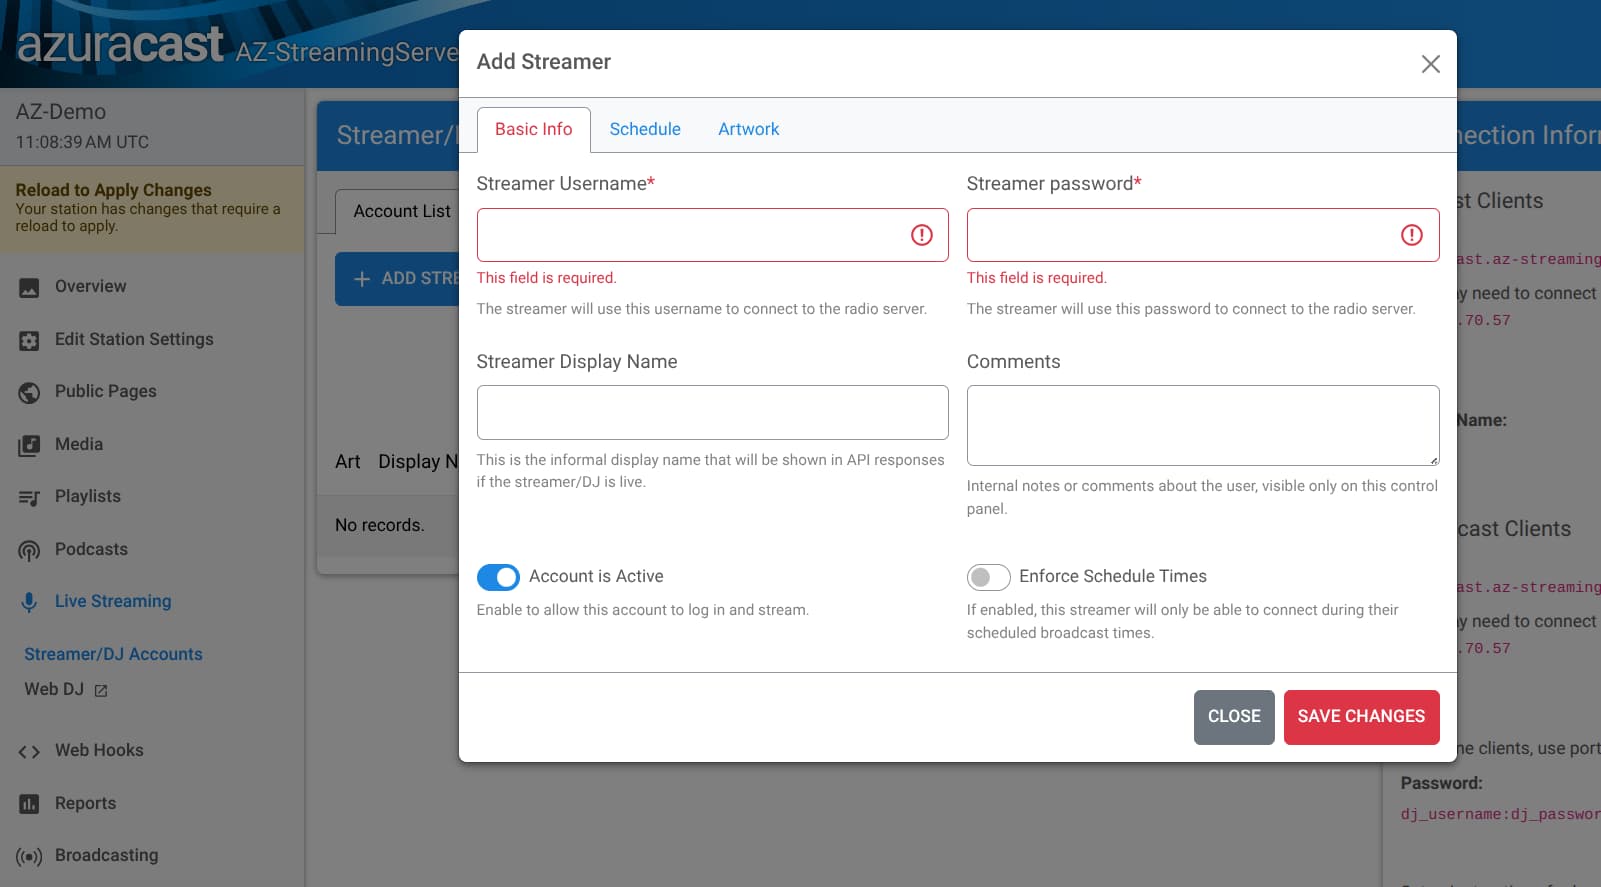
Security Tip: Never use your Administrator password for live broadcasting. Always create a dedicated DJ account.
1. Log in to your AzuraCast Dashboard.
2. In the sidebar menu, click on Streamer/DJ Accounts.
3. Click the blue Add Streamer button.
4. Streamer Username: Enter a simple name (e.g., live_dj).
5. Streamer Password: Enter a secure password.
6. Display Name: This is what listeners will see (e.g., “DJ Mike”).
7. Click Save Changes.
(Note: Ensure the “Enable Broadcasting” switch on your station profile is turned ON).
Step 2: Locate Your Connection Details
Use the RankMath “How-To” Block for this section if available.
1. Open RadioBOSS.
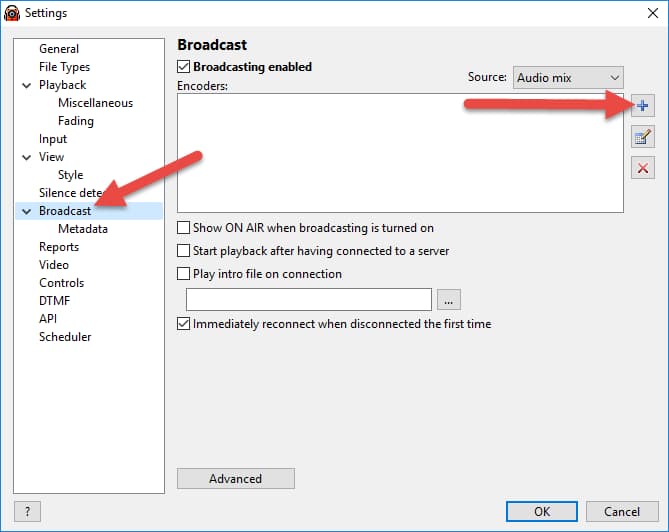
2. Click the Settings icon (gear wheel) in the top toolbar.
3. Select Broadcasting from the left menu.
4. Check the box “Broadcasting enabled”.
5. Click the “+” (Plus) button to add a new encoder.
A “Configuration” window will appear. Fill it in exactly as follows:
– Server: Enter your address and port format like this: [Server-Address]:[Port].
– Example: radio.az-streamingserver.com:8000
– Password: This is the tricky part. For AzuraCast/Icecast, use the format: dj_username:dj_password.
– Example: If your user is live_dj and password is music123, enter: live_dj:music123
– Station Name: Enter your station name.
– Format: We recommend MP3 at 128kbps for compatibility, or AAC+ at 64kbps for mobile quality.
Click OK to save the encoder.
Step 4: Go Live
1. In the Settings window, ensure the checkbox next to your new encoder is Checked.
2. Click OK.
3. Look at the bottom-left corner of the main RadioBOSS window.
4. You should see the message: “Connected to server! (Output 1)”.
Troubleshooting Common Errors
Error: “Cannot start broadcasting (Error 401)”
– Cause: Incorrect password or username format.
– Fix: Ensure you are using the colon separator (:) between your username and password in the Password field. Double-check that you are not using the Admin password.
Error: “Error 2 (Connection Refused)”
– Cause: Wrong Port or AutoDJ conflict.
– Fix:
Check if your station requires a specific DJ Port (different from the listener port).
Ensure the “Streamer/DJ Accounts” feature is enabled in your AzuraCast station profile.
Error: “Error 40 (Timeout)”
– Cause: Firewall blocking the connection.
– Fix: Ensure your Windows Firewall or Antivirus allows RadioBOSS to access the internet on the specified port.